How to Shoot a Hyperlapse
Hyper Lapse
Hyper lapse photography is a technique in which you create a moving Time-lapse. It is a simple process that adds a wonderful effect to a normal static time-lapse, not only is it a moment in time, it is also a moment in space.
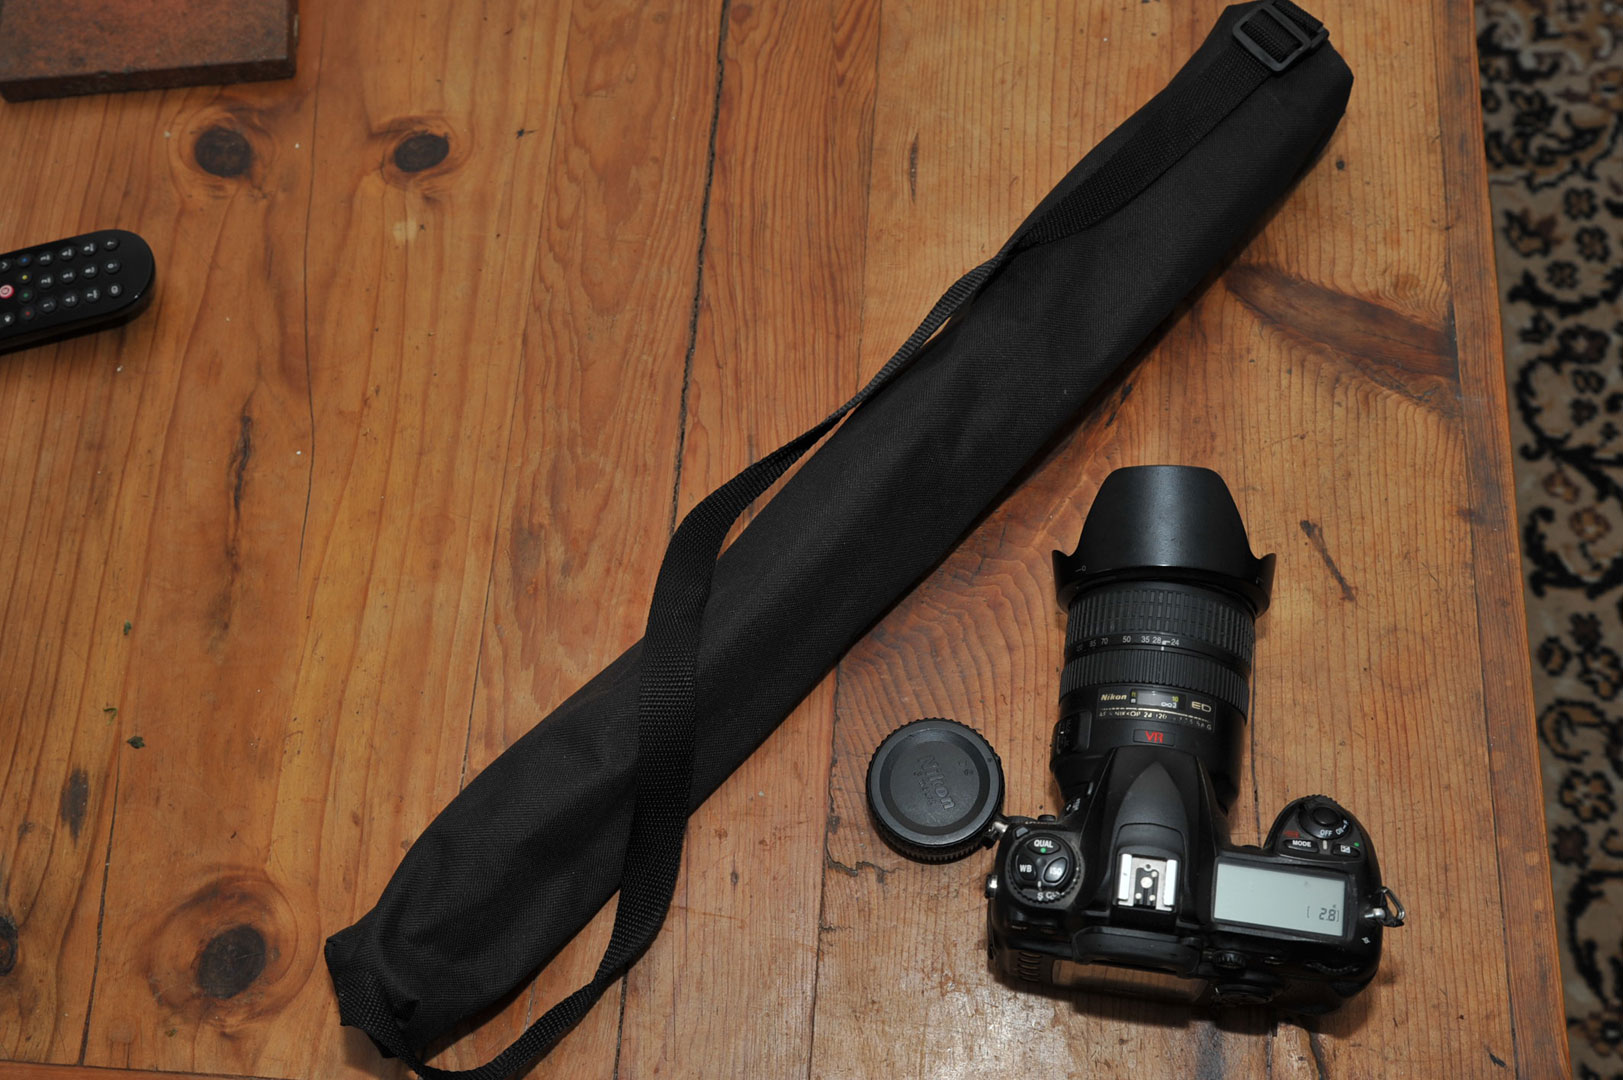
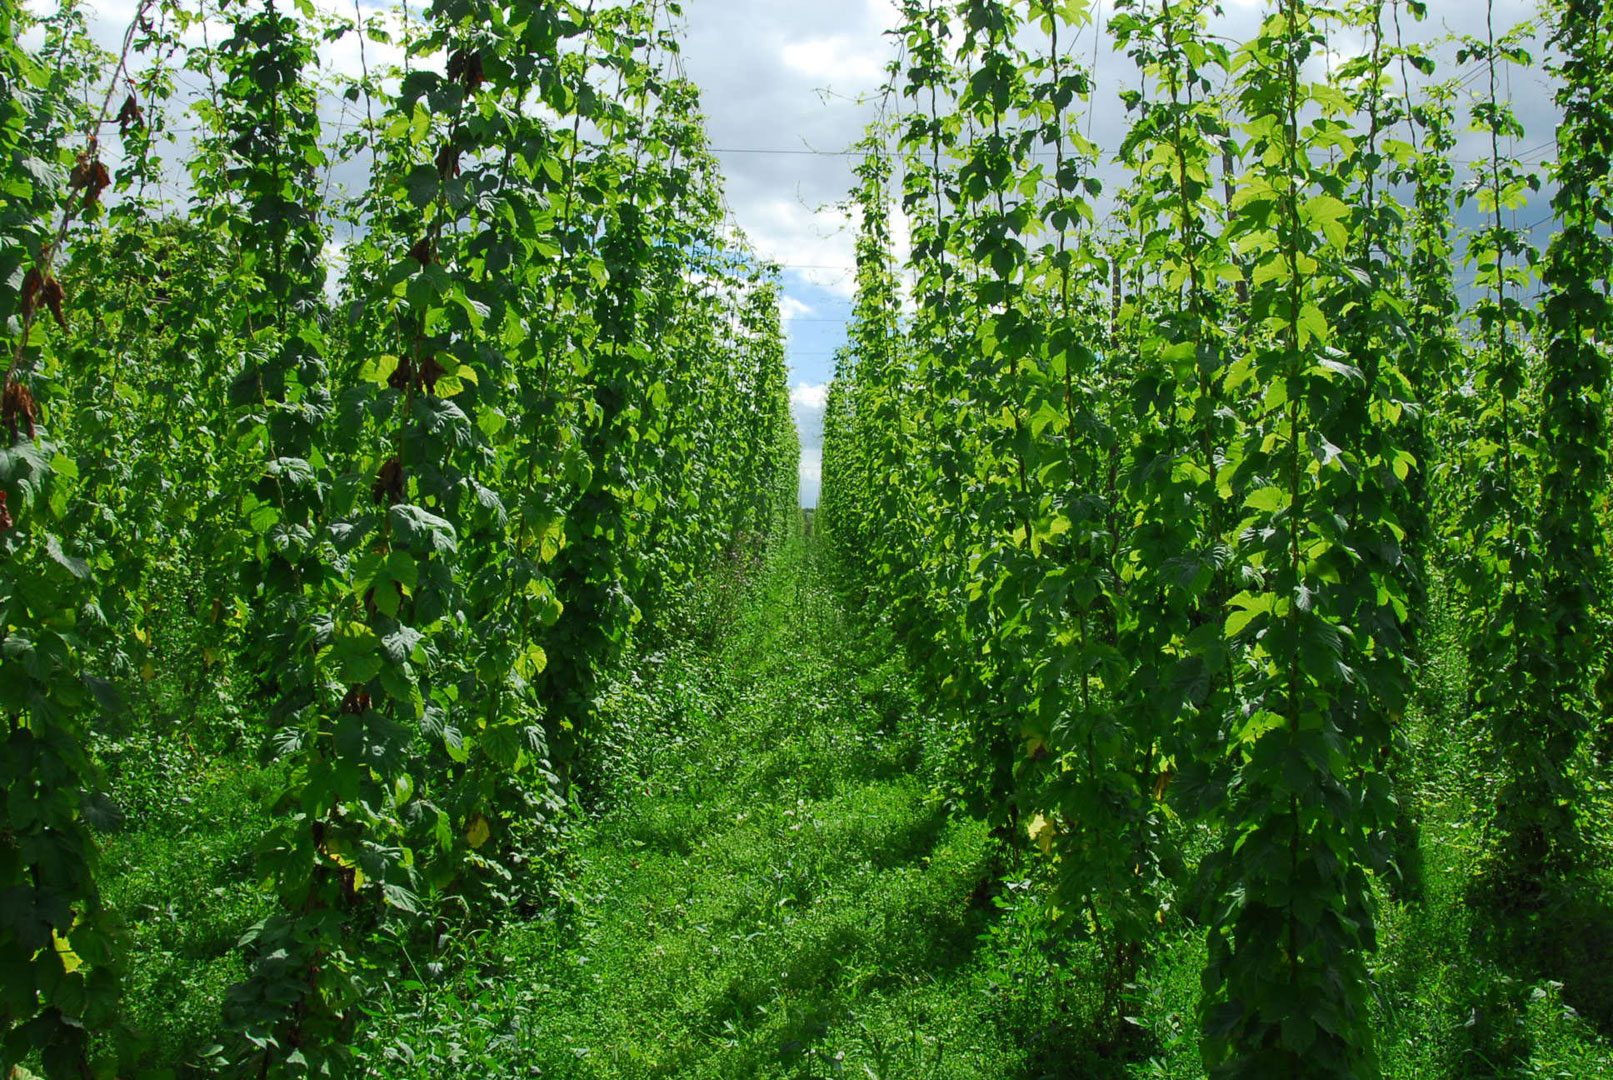
Essentially it is like shooting a static time-lapse on a tripod but moving the camera between each frame. In my example of a hyper-lapse, I demonstrate, shooting in between a line of fully grown hop bines. Instead of using a tripod (which is preferable), I’m using a monopod for easier use on uneven ground, a standard DSLR, and any middle range lens with a VR. (lens /image stabilizer)
I start off with the idea of shooting along the interior of the hop bines and decide to take a pace between each, roughly 2 to 3 feet between each shot. The camera is switch to manual focus and the end of the hop bines in the centre of my focal point, where I aim to position the camera after each frame. Much like a large building in a cityscape or a large tree in the distance the feature is the main focus in your moving time-lapse. Between each shot, the focus is best positioned to the same area of the frame to achieve a smooth flowing hyper-lapse when you see the end sequence.
As with my hyper-lapse, I had to use a monopod because of the high undergrowth. A useful tool to steady the look and feel of the shot was used in Adobe After Effects. A feature called Warp stabilizer pulls the frame in a bit and stabilizes the shot by automatically matching all the individual shots together.
It is an interesting and dynamic approach to standard time-lapses and the sky is the limit.